How to Break In Leather Shoes Without Getting Blisters
Blister pain is not the mark of a shoe in need of 'breaking in' — it is the warning of a possible fit problem.
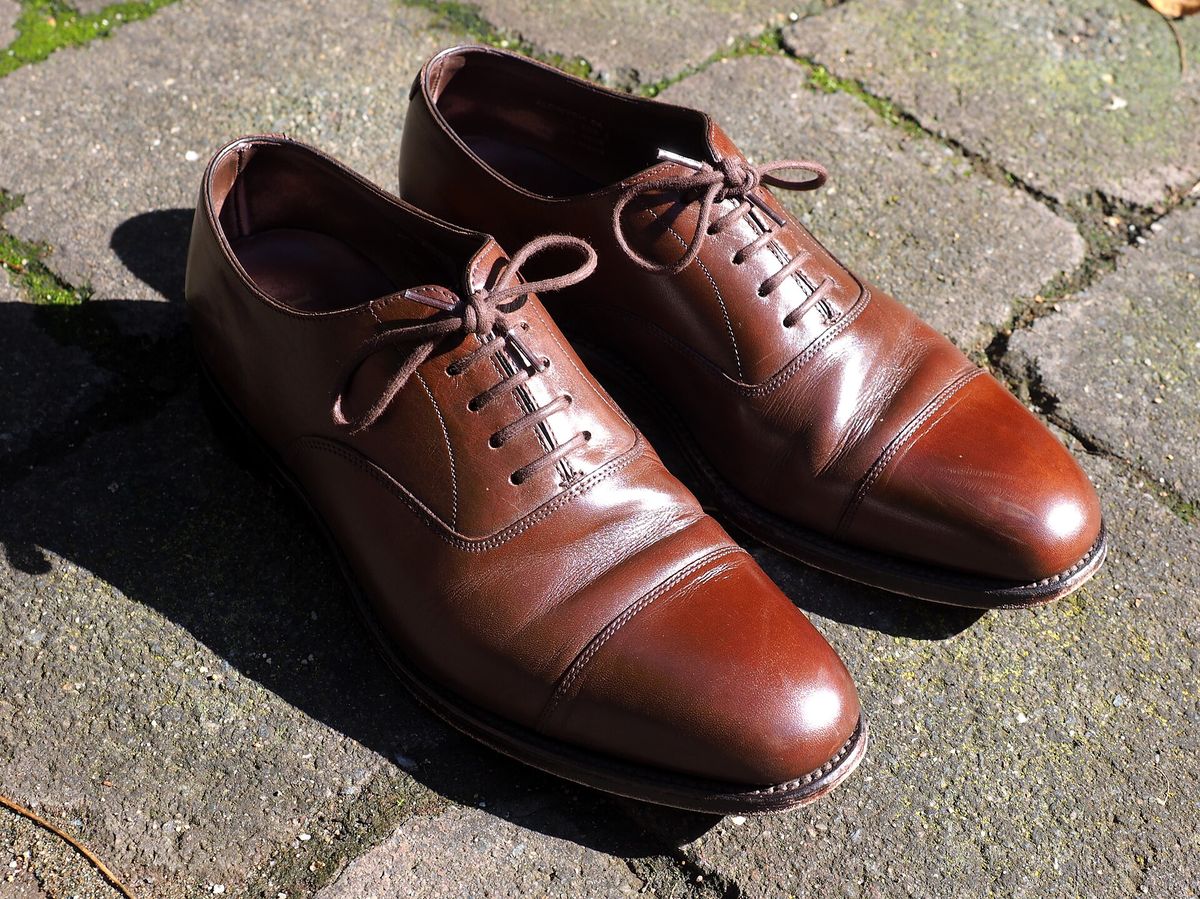
Blister pain is not the mark of a shoe in need of 'breaking in' — it is the warning of a possible fit problem. Firstly: wear the shoes no more than one or two hours on the first day, then gradually increase by a few hours each day, while giving the leather a fighting chance.
Why are stiff leather shoes so uncomfortable in the first place? The blame falls to the shoe's seam and midsole, the heel counter and the toe box, and the fact that the "hard" and "rubbing" create friction at heightened levels across the shoe. This can lead to pressure points, nipping, and even abrasions on the wearer's heel and instep, as pointed out by fashion and podiatry experts.
Start with the gentlest break-in
A podiatric article from Michigan Foot Doctors, warns that blister pain indicates a fit problem which may require adjustments instead of pushing through the discomfort. This pain speaks for itself and should not be ignored. Podiatrists themselves warn against forcing new shoes, as doing so will only prolong the process and hinder the leather from properly molding to your foot.
When it comes to actually breaking in leather shoes, the best methods to begin with involve the least force, and are both convenient and accessible. Wear leather shoes with a pair of thicker socks, or even double up on socks for a more comfortable and relaxed fit. Start by putting on the shoes and walking around the house for 30 minutes, then increase to an hour or two the next day, to allow the leather to soften up and the shoe to loosen. Caution: apply any leather conditioner sparingly and remember that the goal of any measure here is to relieve pressure points, not to break the fabric down.
Some podiatrists recommend using a hairdryer to warm up the leather, allowing it to stretch more easily in areas where you experience discomfort, like the toe box or heel. Use caution and start by holding the hairdryer and its heat a few inches away from the areas you are trying to stretch, and to make sure it is not getting too hot, or overheating the leather. The shoe should still be able to release the pressure after the heating session with you setting it aside for an hour or so.
When Stretching is Appropriate
Some leather shoes are trickier than others, and may require the gentle stretch of a shoe stretcher. Most shoe stretchers have a foam stretcher, fittingly called the shoe stretcher, with its own mechanism which put enough pressure on the shoe to loosen it up. Some models are a permanent fixture meant to be shoved into the shoe to gently alter its shape over time, while other models are made for a one and done job, changing the shoe to fit the wearer, and then being removed.
If you suspect your toes are too big or too wide, look out for a stretcher with two small plastic wedges, allowing you to position the pads specifically on the toes, allowing the toes relief and extra room. If you're noticing uncomfortable pressure on the side of your heel, particularly if you have bunions, consider a shoe stretcher with a rounded head on top, which can insert into the shoe and stretch the heel properly.
Some cobblers offer services, either targeting a specific pressure point, or targeting specific areas of the shoe, ensuring the shoe will fit you perfectly after a cobbler is done with it. This method may seem costly, but it is a a periodic purchase, especially if you utilize the same cobbler. Some cobblers even offer color matching services, transforming the shoe into a second skin just for you. While this is an expensive option, it is the most effective, because some cobblers will have you try on the shoe immediately after the adjustments, allowing you to point out exactly where you experience discomfort, whether it be on the seam or the heel counter, and correct them immediately.